How to install ISPmanager on Ubuntu
Developed in Russia by ISPsystem panel is perfectly integrated with different modules, such as site builders, Let's Encrypt, and antiviruses. The panel is very flexible, so it even allows you to write your own plugins based on API.
The panel is commercial, but the amount of functionality is worth every penny. You can install and configure a lot of products such as MySQL/Postgre database servers, mail servers, Apache, Nginx, and much more.
The graphical interface greatly simplifies the setup of many components and in general, is very friendly even for beginners. Since ISPsystem's main motto is "automate everything", you can update the software directly from the panel, or get SSL certificates from Let's Encrypt, for example. Don't forget to update it from time to time!
ISPmanager is compatible with CentOS, Debian, and Ubuntu operating systems.
Installing ISPmanager on Ubuntu is very easy. Let's get started.
Step by step guide on how to install ISPmanager on Ubuntu 20.04
Before installing the panel, make sure that your number of sites fits the minimum system requirements:
- Up to 10 sites - 1 GHz processor, 1 core, 2 GB RAM, 20 GB on disk space.
- More than 10 sites - 2GHz processor, 2 cores, 3GB RAM, 50GB of disk space.
These figures are approximate, and depending on the load of your sites system requirements may vary. In any case, you must order VPS with not less than 2 GB of RAM.
Connect to your VPS via SSH using the credentials provided by BlueVPS when purchasing the server.
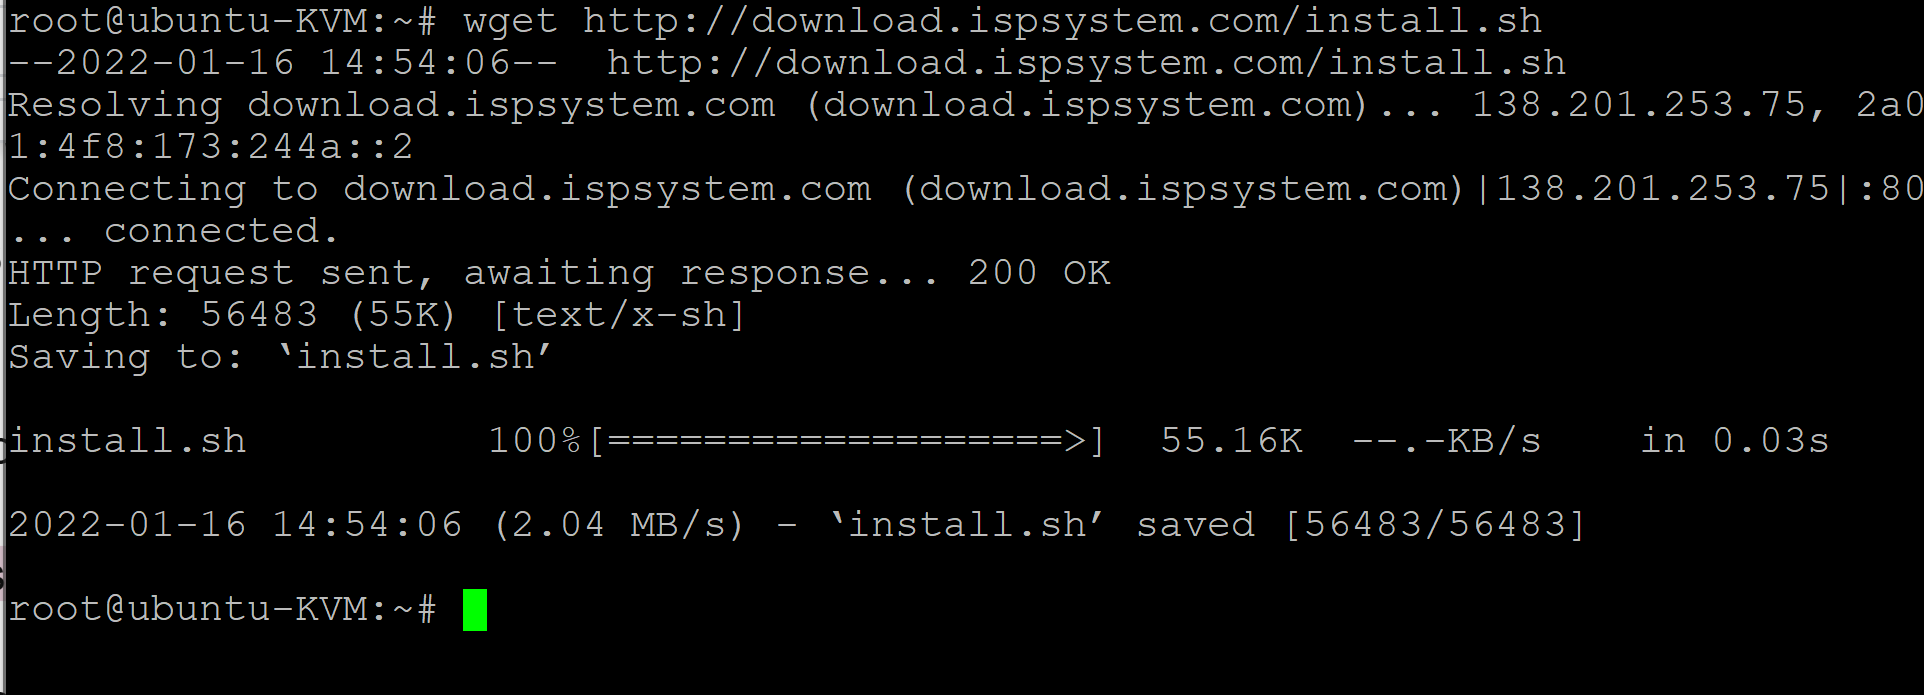
To start, run the command to download the installer:
$sudo wget http://download.ispsystem.com/install.sh
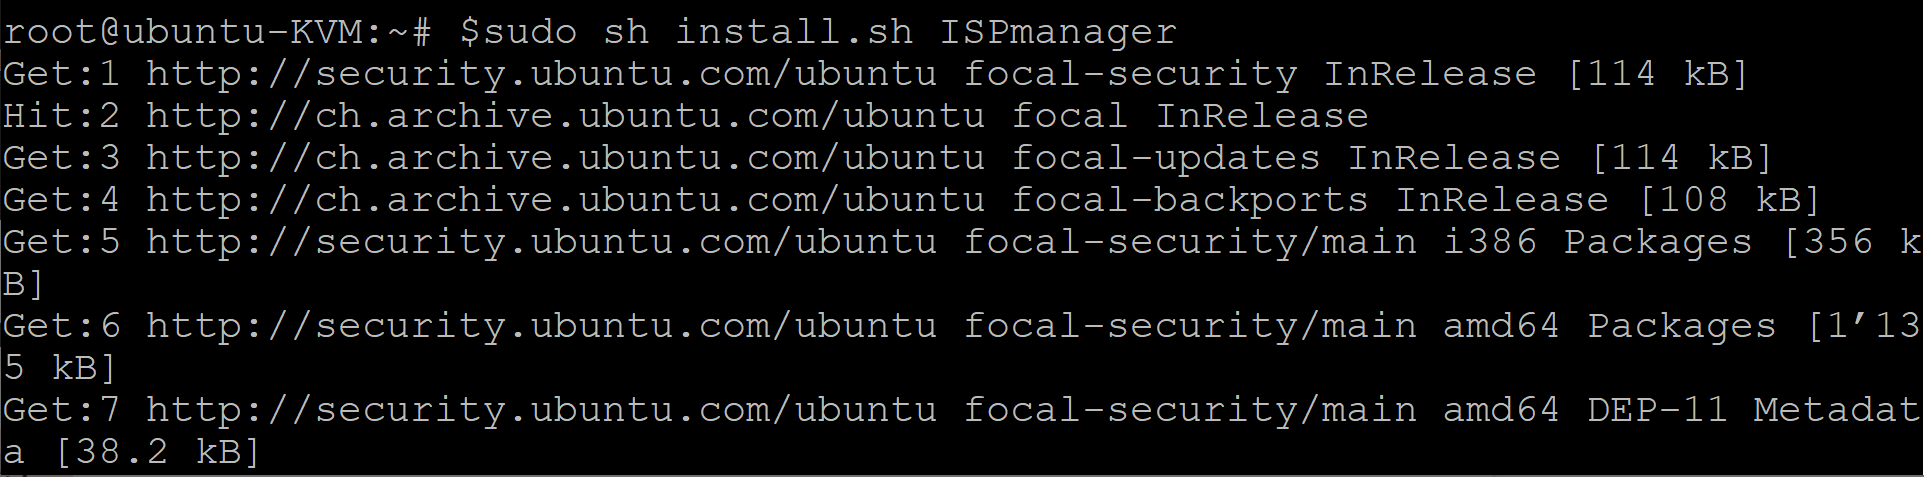
If you want the latest version, then just run the installer with the command:
$sudo sh install.sh ISPmanager
If you need a specific version, then add the –release number to the -release command:
sh install.sh --release 5.100 ISPmanager
Then you will be prompted to install the stable version s or beta version b.
Type the letter you want and press Enter.
The next step is to select the appropriate set of software:
Recommended software that installs Apache, PHPMyAdmin, PHP, etc. Enter 1.
The minimum software that installs MySQL or MariaDB. Enter 2.
When you hit Enter you will see that the installation process has begun. After installation, you will see the web address where you will be able to start using ISPmanager.
For example: https://your_IP:1500/ispmgr
Conclusion
As you can see there is nothing complicated and installation is much easier than in the case of cPanel, for example. If you have any questions about how to configure the panel, do not hesitate to contact BlueVPS Technical Support. We will be happy to help with any questions you may have!
Blog