How to Set up Your Mail Server
Nowadays, most people have a mail account. We all have sent and received emails from all around the world. Emails are so common nowadays that we hardly think about the entire process. We write a message, make a click, and the mail is delivered.
Here, we will check how the mail works and what is behind the simplicity of the entire mail sending process.
A Mail Server: What Is It?
A mail server is a special system developed to send and receive emails. Usually, a web server is combined into a single system with a mail server. Large mail servers (Google, as an example) might use specific hardware for mailing services provision.
When you send mail, it will pass through a number of servers until it reaches the intended recipient. Thus, as you can see, there is a complex process behind every “instant” message. If not these servers, you would be able to message only those people whose mail address is located on the same recourse as yours.
There are several options to install your own mailing server. We will check the easiest and the most frequently used one.
Set Up Options & Instructions
Option 1
The easiest and the fastest option is to get your hMail server. It is free. Many governmental institutions, educational organizations use it. It comes with a crucial benefit: a quite powerful spam protection software, SpamAssassin. Besides, it is easy to download, set up, and use.
Now, we proceed with hMail installation.
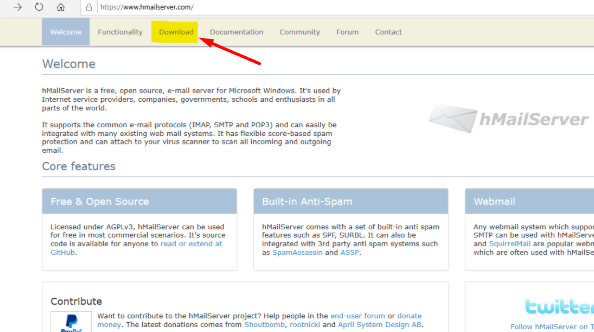
Step 1
Open hMail Server. On the top of the screen, find Download. Move to the folder.
Step 2
Click on Download the Latest Version.
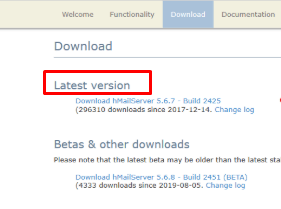
The download will start. Wait some time until it is completed.
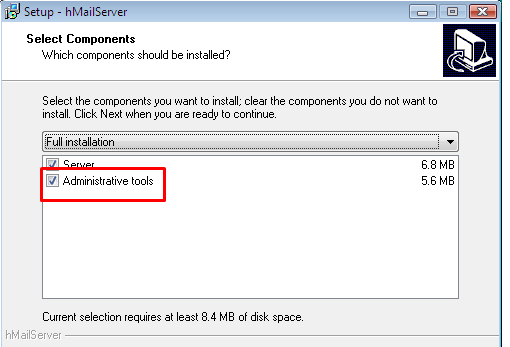
Step 3
Now, the installation wizard will open.
It will offer you two options:
- To set up your computer as a mail server;
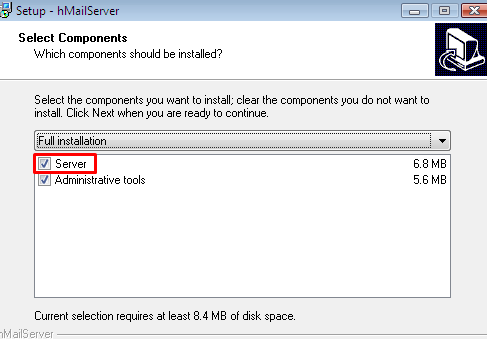
- To set up a mail server on another server, if you have it. It will allow you to manage that server remotely.
Step 4
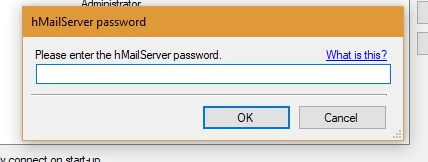
Set up your password. Make sure it is strong enough to ensure the proper safety level.
You will be asked to provide it every time you open the mail server. Thus, either write it down or store it in a safe though easily accessible place.
Step 5
Open the dashboard. Now, you can enter the new domain name of your website. SMTP shall be already activated by your hosting provider.
Now, when the domain is provided, move to Protocols. Then, click on SMTP.
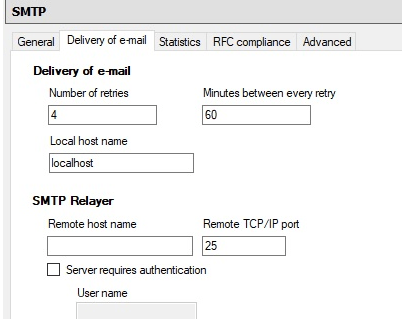
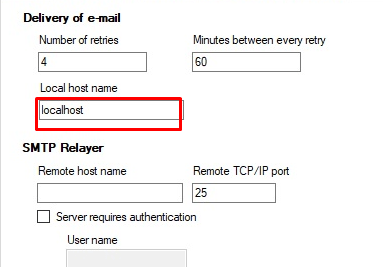
The local hostname shall be set up as a localhost.
Step 6
Now, you can move to set up of your own mail address. For that, move to Accounts and create the mail address. This is your primary mail address.
Now, whenever you send a message, it is stored in hMailServer. Further, it is forwarded to the DNS IP.
hMailServer also allows such settings as mail forwarding, auto-reply, greylisting, blacklisting. However, we will return to it in several steps.
Now, you need to download & install a client. Thunderbird or Outlooks are some examples. They will allow you to read and write emails.
Option 2
Hosted Email Setup Using Thunderbolt
Step 1
Download Mozilla Thunderbird. Now set up your mailing account. You can do it with the same mail ID and password as you normally apply for hosting.
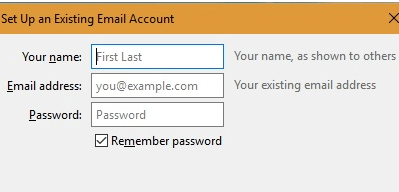
Step 2
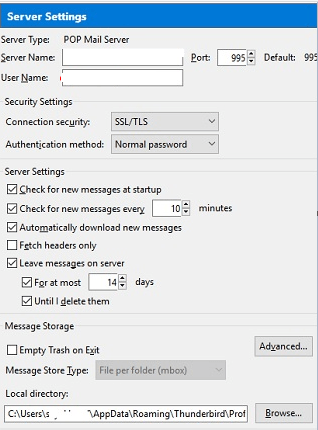
After the previous step is completed, you can configure settings manually. You need to set up the mail account that you already use. For that, type in Localhost in the field Server name. For IMAP via SSL/TSL, use 993. For IMAP, use 143. For SMTP port, use 456 or 587.

Step 3
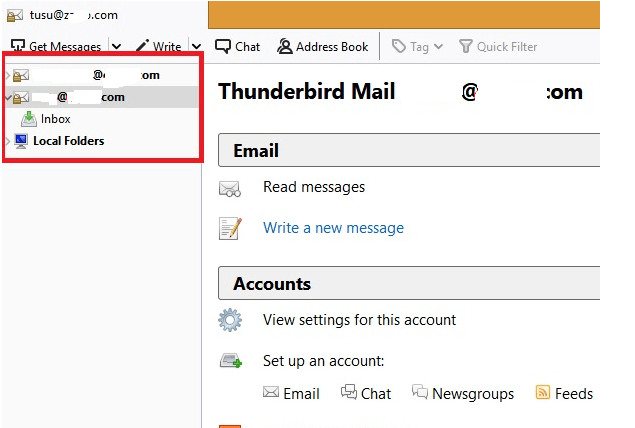
From the Thunderbird account, you can now change the settings for your server.
Step 4
Now, your Thunderbird client can run on your hMailServer in a way you need it. You can set it up for as many email instances as you need.
Now, your mail server is configured with your email.
Blog